
Mastering Calculating Roof Square Feet: A Step-by-Step Guide
Master calculating roof square feet with our step-by-step guide. Learn accurate measurement, pitch adjustments, and waste factors for your roofing project.
Figuring out how much roofing material you need can seem like a puzzle. You hear roofers talk about 'squares,' but you're used to thinking in square feet. Don't worry, it's not as complicated as it sounds. This guide breaks down calculating roof square feet, making sure you know exactly what you're dealing with, whether you're getting quotes or planning a DIY job. We'll go through the basics, how to measure right, and what to watch out for.
Key Takeaways
- A roofing square is a standard industry measurement that equals 100 square feet of roof surface.
- To convert square feet to roofing squares, simply divide the total square footage by 100.
- Roof pitch significantly impacts the actual surface area, so always factor in slope using pitch multipliers for accurate calculations.
- Always add a waste factor, typically 10-15%, to your total calculated squares to account for cuts, overlaps, and material trimmings.
- Using the right tools, like a long tape measure or laser distance tool, and understanding common mistakes can prevent costly errors in your roof measurements.
Understanding the Basics of Calculating Roof Square Feet
When you're thinking about roofing, you'll hear a lot about "roofing squares." It might sound a bit confusing at first, especially if you're used to thinking in square feet for, say, your living room floor. But honestly, it's not that complicated once you get the hang of it. The whole point is to make measuring big, often oddly shaped, roof areas much simpler.
Defining a Roofing Square
So, what exactly is a roofing square? It's a standard unit of measurement used specifically in the roofing world. One roofing square is equal to 100 square feet. That's it. Simple, right? This unit helps everyone involved, from the homeowner to the contractor to the material supplier, talk about roof sizes using numbers that are easier to handle. Instead of saying a roof is 2,350 square feet, a roofer might just call it 23.5 squares.
The Standard Conversion: Squares to Square Feet
Knowing the conversion is pretty straightforward. Since one roofing square is 100 square feet, you can easily go back and forth.
- To convert square feet to roofing squares: Divide the total square footage by 100.
- To convert roofing squares to square feet: Multiply the number of squares by 100.
Here's a quick look at how that works:
| Roofing Squares | Square Feet |
|---|---|
| 1 | 100 |
| 5 | 500 |
| 10 | 1,000 |
| 20 | 2,000 |
| 25 | 2,500 |
This makes it really easy to figure out how much material you might need. For example, if your measurements add up to 1,500 square feet, you know you're looking at 15 roofing squares.
Why the Industry Prefers Roofing Squares
You might wonder why the roofing industry just doesn't stick with square feet. Well, there are a few good reasons. For starters, it simplifies calculations. Imagine trying to order materials for a 3,000-square-foot roof using only square feet – it's just a lot of zeros. Using squares makes the numbers more manageable. Plus, roofing materials like shingles are often packaged and sold based on how many squares they cover. So, if you know you need 20 squares, you can more easily figure out how many bundles of shingles to buy. It's all about making the process smoother and more standardized for everyone involved in a roofing project.
It's important to remember that these are flat measurements. Roofs aren't flat, though. They have slopes and angles, and that's something we'll get into later. For now, just focus on understanding the basic 100-square-foot rule.
Accurate Measurement Techniques for Your Roof
Getting the measurements right for your roof is super important. It's not just about knowing how much material to buy; it's about making sure the job is done right the first time. If you mess this up, you could end up with too much waste, or worse, not enough material to finish the job, which is a real headache.
Breaking Down Complex Roof Geometries
Most roofs aren't just simple rectangles. They have hips, valleys, dormers, and all sorts of angles. The trick here is to break down that complicated shape into smaller, manageable pieces. Think of it like putting together a puzzle. You'll want to measure each individual section, or plane, of the roof separately.
- Identify each distinct plane: Look for sections that meet at a ridge, hip, or valley.
- Sketch it out: Draw a simple diagram of your roof and label each section you plan to measure.
- Measure each section individually: Treat each plane as its own rectangle or triangle, even if it's part of a larger structure.
Measuring Each Roof Plane Precisely
Once you've broken down your roof into smaller sections, it's time to get down to business with the actual measuring. For each plane, you'll need to find its length and width. The basic formula is pretty straightforward: length multiplied by width gives you the area in square feet for that section.
- Length: Measure the longest side of the roof plane.
- Width: Measure the shorter side, perpendicular to the length.
- Calculate Area: Multiply the length by the width for each plane. Keep a running total of these areas.
Don't forget that the slope of your roof, or its pitch, will make the actual surface area larger than the flat footprint on the ground. We'll get into how to account for that in a bit, but for now, focus on the basic dimensions of each plane.
Incorporating Overhangs Into Your Calculations
When you're measuring, it's easy to forget about the overhangs – those parts of the roof that extend beyond the walls of the house. But guess what? You need roofing materials for those too! So, when you're measuring the length and width of each roof plane, make sure you include the measurement of the overhang. This adds to the total surface area you'll need to cover.
- Measure overhang length: Add the length of the overhang to the main roof plane measurement.
- Measure overhang width: Similarly, include the width of the overhang.
- Add to total area: Make sure these extra bits are included in your square footage calculation for each plane before you sum them all up.
Accounting for Roof Pitch in Your Calculations
So, you've measured the basic length and width of your roof planes. That's a good start, but if your roof isn't perfectly flat, you're going to need to adjust those numbers. This is where roof pitch comes into play, and it's a pretty big deal for getting your material count right.
Understanding the Impact of Roof Slope
Think about it: a flat surface has a certain area. Now, imagine taking that same flat surface and bending it upwards, like a ramp. The actual surface you can touch and cover with shingles is now bigger, right? That's exactly what happens with roof pitch. The steeper the slope, the more surface area you have compared to just measuring the footprint on the ground. If you ignore this, you'll likely end up short on materials, which is a headache nobody wants.
Applying Pitch Factors for Accurate Area
To figure out how much extra material you need because of the slope, we use something called a 'pitch factor.' This is basically a multiplier that accounts for the angle. You find your roof's pitch by measuring how much it rises for every 12 inches it runs horizontally. A common way to do this is with a framing square and a level. You measure the 'rise' over a 12-inch 'run.' For example, a 6/12 pitch means the roof rises 6 inches for every 12 inches it goes out horizontally.
Once you have your pitch, you can look up the corresponding pitch factor. You then multiply your flat roof area (the length times width you measured earlier) by this pitch factor. This gives you the actual surface area you need to cover.
Common Pitch Multipliers for Reference
Here's a quick look at some common pitch factors. Keep in mind these are approximate and can vary slightly depending on the exact calculation method, but they're good for estimating:
| Roof Pitch (Rise/Run) | Pitch Factor |
|---|---|
| 3/12 | 1.031 |
| 4/12 | 1.054 |
| 6/12 | 1.118 |
| 8/12 | 1.202 |
| 10/12 | 1.300 |
| 12/12 (45 degrees) | 1.414 |
Remember, these factors are applied to the area of each individual roof plane. If your roof has different slopes on different sections, you'll need to calculate the pitch factor for each section separately and apply it to that section's measured area before adding them all up. It sounds like a lot of math, but it really makes a difference in the end.
So, don't skip this step! Properly accounting for pitch means you're much less likely to run out of shingles halfway through the job, and you won't be stuck with a giant pile of leftover material either. It's all about getting that number just right.
Calculating Material Needs With Waste Factors
Alright, so you've got your roof's square footage all figured out. That's a big step! But hold on, we're not quite ready to hit the "order" button just yet. There's this thing called a "waste factor" that's super important, and honestly, it's easy to forget.
The Importance of Adding for Waste
Think about it: when you're cutting shingles to fit around vents, valleys, or edges, you're always going to have some leftover bits. These aren't usually big enough to use somewhere else, so they just become waste. If you order exactly the amount of material your roof's square footage says you need, you'll almost certainly run out before you're done. And trust me, having to stop a roofing job to wait for more materials to arrive is a massive headache and can cost you extra money.
Recommended Waste Percentages by Roof Complexity
How much extra should you get? It really depends on how complicated your roof is. A simple, flat roof or a basic gable roof won't create as much waste as a roof with lots of hips, valleys, dormers, or tricky angles. Here's a general guideline:
- Simple Roofs (Gable, Shed): Add about 10% for waste.
- Moderate Roofs (Some Hips/Valleys): Aim for 15% extra.
- Complex Roofs (Many Hips, Valleys, Dormers, Skylights): You might need 20% or even a bit more.
It's always better to have a little extra than not enough. You can usually return unopened bundles if you really over-ordered, but you can't get back the time lost if you run short.
Calculating the Final Number of Squares to Order
So, let's put it all together. You've got your total roof area in square feet. First, convert that to roofing squares (divide by 100). Then, multiply that number by your chosen waste factor percentage (e.g., 1.10 for 10% waste, 1.15 for 15%). Always round up to the nearest whole or half square when you order, just to be safe.
For example, if your roof measures 1,800 square feet, that's 18 roofing squares. If you have a moderately complex roof and decide to add 15% for waste, you'd calculate: 18 squares * 1.15 = 20.7 squares. In this case, you'd want to order 21 roofing squares to make sure you have enough.
Don't forget to check the specific coverage details for the type of shingles or roofing material you're using. Some materials might require slightly different waste percentages or have unique installation requirements that affect how much you need. Always read the manufacturer's instructions!
Remember, getting this part right means fewer headaches and a smoother project from start to finish. It's a small detail that makes a big difference.
Essential Tools for Measuring Roof Square Feet
Alright, so you've got the plan, you know why you're measuring, and you're ready to get down to business. But what do you actually need to get the job done right? It’s not rocket science, but having the right gear makes all the difference.
Traditional Measuring Tools
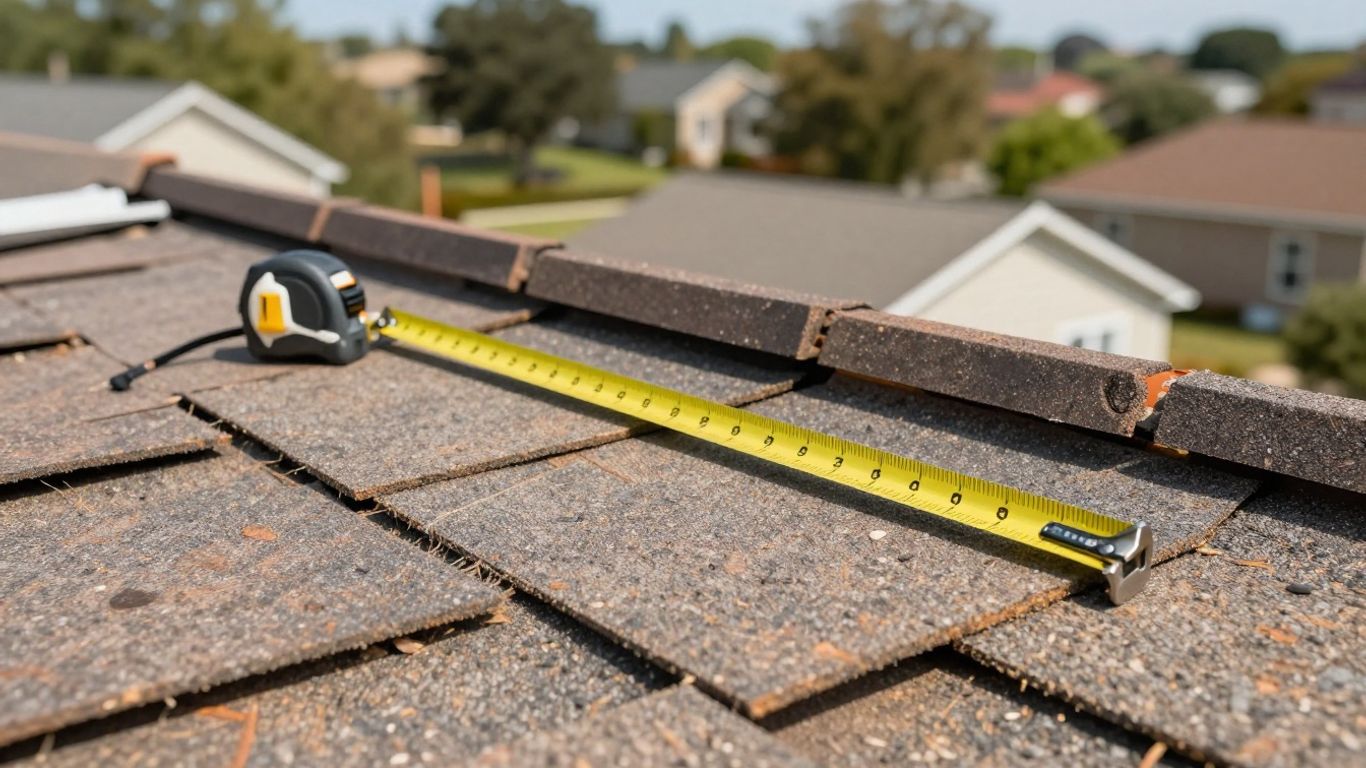
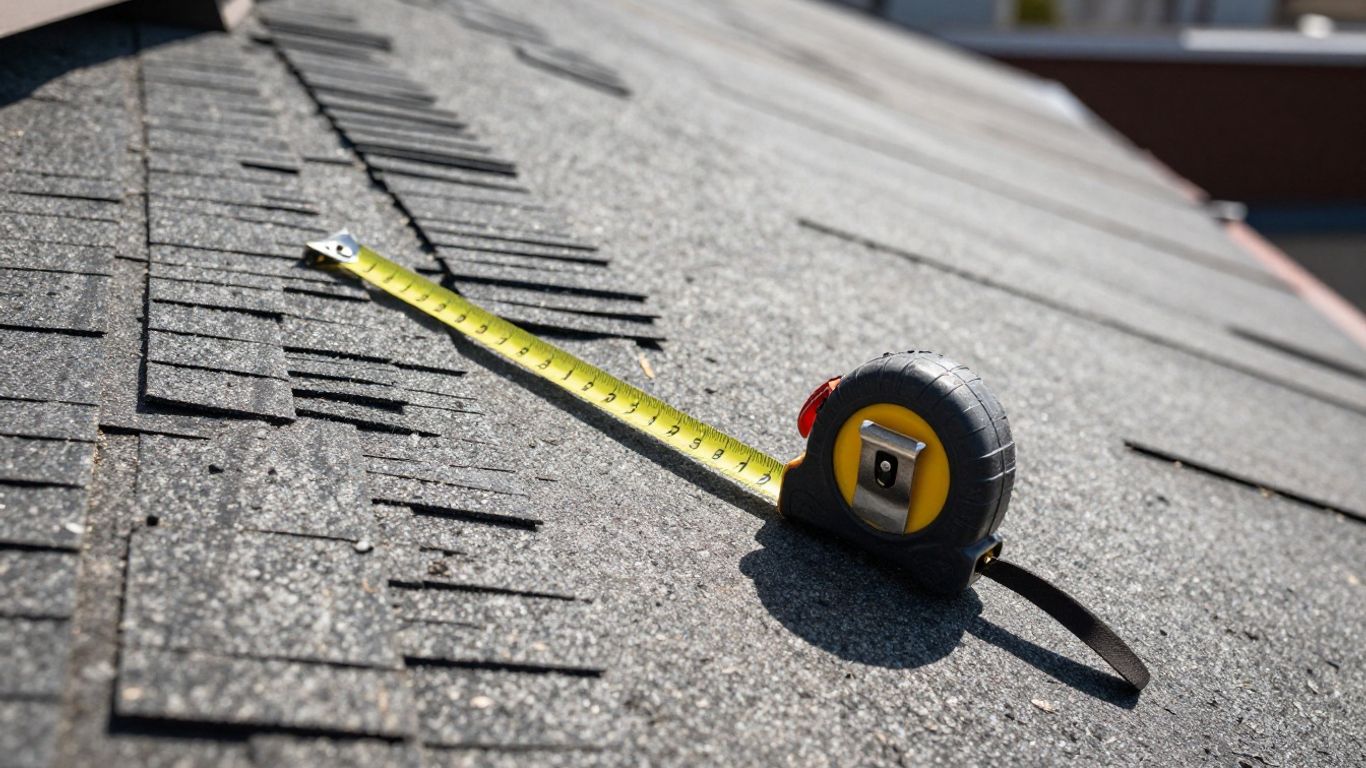
Before we get fancy with tech, let's talk about the old-school stuff that still works. You'll definitely want a good, sturdy tape measure. I'm talking about one that's at least 25 feet long, maybe even 50 feet if you've got a big roof. Make sure it's got clear markings – nobody wants to squint at faded numbers. A reliable ladder is also a must. It needs to be tall enough to get you up there safely, and it should extend at least three feet above the edge of the roof when you're on it. Don't forget safety gear: non-slip shoes are non-negotiable, and if your roof is steep, a safety harness is a smart move. Gloves are good too, especially if you're dealing with rough materials.
Leveraging Technology for Precision
Now, if you want to speed things up or get even more accurate, especially on complex roofs, technology can be a real help. Laser measuring tools are pretty neat; they can measure longer distances without you having to stretch a tape measure all the way. Some contractors even use specialized apps that can calculate roof area, pitch, and square footage remotely. This means they can get quick, accurate estimates without even needing to visit the site first, which really streamlines the whole bidding process. It’s kind of amazing how far things have come.
Utilizing Online Calculators
And hey, if you're not quite ready to invest in fancy gadgets or you just want a quick double-check, online calculators are your friend. You plug in your measurements – length, width, maybe the pitch if you know it – and poof, it spits out the square footage for you. It’s a simple way to get a ballpark figure or to verify the numbers you got from your own measurements. Just make sure you're using a reputable one.
Remember, accuracy is key here. A small mistake in your measurements can lead to ordering too much or too little material, both of which cost you time and money. Double-checking your work is always a good idea.
Avoiding Common Pitfalls in Roof Measurement
Alright, let's talk about the stuff that can go wrong when you're measuring your roof. It's not rocket science, but you can definitely mess it up if you're not careful. And trust me, nobody wants to find out they're short on shingles halfway through the job.
The Dangers of Neglecting Safety
First things first: safety. I know, I know, it sounds obvious, but people really do skip this. Getting up on a roof, even just to measure, can be risky. You need to make sure your ladder is solid, wear shoes with good grip, and maybe even think about a safety harness if it's steep. Always have someone with you who can help or call for assistance if something happens. It’s better to be safe than sorry, right?
Ensuring Accuracy With Proper Tools
Using the right tools makes a huge difference. Trying to measure a long roof slope with a short tape measure is just asking for trouble. You'll end up with guesswork and inaccurate numbers. For really precise measurements, especially on complex roofs, modern roof measurement tools can be a lifesaver. They help eliminate the guesswork and give you solid data.
Understanding Measurement Unit Differences
This one trips people up more than you'd think. Remember that a
Wrapping It Up
So, we've gone over how to figure out your roof's square footage, which is pretty important stuff. It’s not just about knowing the numbers; it’s about making sure you get the right amount of materials, don't pay too much, and can actually talk to roofers without feeling lost. Remember, a roof square is 100 square feet, but you've got to factor in that slope and a little extra for waste. Doing this yourself gives you a good handle on the whole project, from start to finish. It’s a simple skill, but it really makes a difference when it’s time to get quotes or buy supplies.
Frequently Asked Questions
What exactly is a 'roofing square'?
Think of a roofing square like a special unit for measuring roofs. It's not a physical square you can hold, but a way to talk about roof size. One roofing square is equal to 100 square feet of roof surface. Roofers use this because it makes big numbers easier to handle, kind of like how we use dozens instead of just counting individual eggs.
Why do roofers use 'squares' instead of just square feet?
It's mostly for convenience! Roofs are often huge, covering hundreds or thousands of square feet. Talking in 'squares' simplifies things, making it easier to estimate materials and costs. Plus, roofing materials like shingles are often sold in packages designed to cover a certain number of squares, so it keeps everyone on the same page.
How do I convert my roof's square footage into roofing squares?
It's pretty simple! Just take the total square footage of your roof and divide it by 100. For example, if your roof measures 2,000 square feet, you divide 2,000 by 100, which gives you 20 roofing squares. This is your starting point before considering other factors.
Does the slope or 'pitch' of my roof matter when calculating squares?
Yes, it absolutely does! A sloped roof has more surface area than a flat roof of the same size. You'll need to use a 'pitch factor' or multiplier based on your roof's steepness. This factor is applied to your basic square footage calculation to get the true surface area you need to cover.
Why should I add extra material for 'waste'?
When roofers install shingles or other materials, they have to cut pieces to fit edges, corners, and tricky spots. These cut-offs are called waste. To make sure you have enough material and don't run out mid-job, it's standard practice to add a percentage (usually 10-15%) to your total calculated squares to account for this waste.
What are the best tools for measuring my roof accurately?
For basic measurements, a long tape measure is essential. However, for safety and better accuracy, especially on steeper or larger roofs, consider using a laser distance measuring tool from the ground. Some professionals even use drones or satellite imagery. Online calculators can also help you plug in your measurements and get quick results.